How to clean sneakers. 3 Simple Steps
There is no better feeling than unboxing a new pair of kicks. That fresh smell can fuel a sneakerhead’s dreams. But once they are out of the box and on the street, anything can happen to your shoes, from scuffs, stains, spilled drinks, to general grit and grime.
Dust, dirt, salt, and traces of other people’s feet – all this awaits us when we go out into the street in sneakers. Alas, this is inevitable. To extend the life of any pair, it is worth stocking up on cleaning and care products.
- 1. Step one is simple: Remove any visible dirt. You can do this with a clean towel, toothbrush, or even your hand if pressed for time. Wiping for dirt every time you put your shoes away will help prevent build-up and save you some serious headaches along the way.
- 2. Next, you will want to rinse off the soles. Even if you were walking on a relatively clean surface, you would be surprised by the debris that can get stuck on the bottoms of your shoes. So, rinse them off with a wet towel or hose. This does not have to be too involved but should certainly be done.
- 3. And finally, spot cleans any big stains. If the stain is large enough, you should be able to remove it by quickly blotting it with a soap and water mixture.
How to clean the midsole
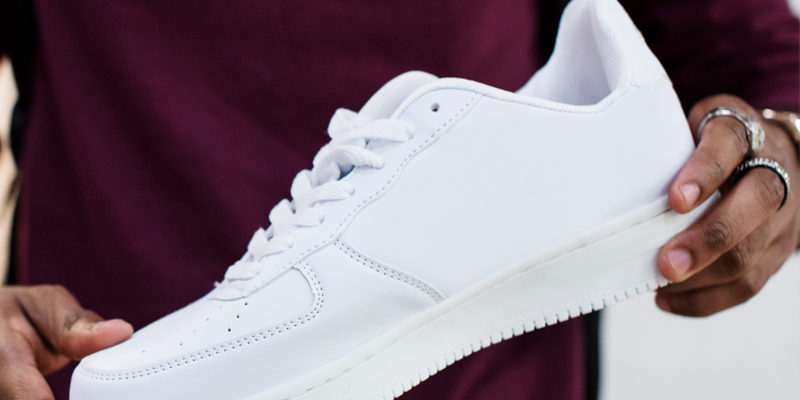
Though you can get away with lax outsole maintenance, you absolutely cannot take such a chill approach to your midsole. This section of the sneaker is clearly visible and is usually intended to be bright white, so it is important to clean it regularly.
An easy solution is to take a good old-fashioned Magic Eraser to it. Perhaps not the most elegant trick, but it can do a lot to enhance the color of a rubber sole and reduce grime along the edges.
We don’t recommend putting your shoes in a washing machine or dryer or using harsh cleaning products (like bleach). And for best results, clean your sneakers as soon as they get dirty. Then lace up and get back out there.